Emulating Arch Linux ARM on x86 with QEMU
QEMU is usually used for creating virtual machines that operate with the same architecture as the host. However, QEMU is also an emulator that can emulate a wide variety of guest architectures on a host architecture.
Arch Linux ARM is an unofficial flavour porting Arch Linux to ARMv7 and ARMv8, building most packages for ARM and giving you the power of pacman to manage packages.
I wanted an ARM emulated virtual machine to do some testing on with ARM binaries, and chose ALARM as it’s an ARM flavour of the distro I do very much enjoy. However there does not seem to be a lot of information on how to set up an ARM virtual machine, and due to how different the ARM ecosystem is there is no ISO file you can simply boot and install a distro from.
This blog post contains recollected instructions from how I went about setting it up, including installing things to get a graphical environment up and running. Some of the instructions may extend to other ARM-based distros if you can find a generic image distributed as a tarball that has support for the “virt” board in the kernel.
For more information about QEMU’s ARM emulator see Arm System emulator in the QEMU documentation, as well as the ARM ‘virt’ board which is what you usually should use when doing general purpose ARM computing with QEMU.
Setting up
Install QEMU and also qemu-system-aarch64 specifically for ARM64 guest support.
Download the latest tarball for the generic ARMv8 image:
wget http://os.archlinuxarm.org/os/ArchLinuxARM-aarch64-latest.tar.gz
We will extract the tarball later. Create a disk image (5GB in size, but you can change the image size):
qemu-img create -f raw archlinuxarm.img 5G
Format the disk image:
parted archlinuxarm.img --script -- mklabel msdos
parted archlinuxarm.img --script -- mkpart primary ext4 1MiB 100%
Set up a loop device, format it as ext4 and mount it:
sudo losetup -fP archlinuxarm.img
sudo mkfs.ext4 /dev/loop0p1
sudo mount /dev/loop0p1 /mnt
Extract the tarball into the mounted image:
sudo tar -xpf ArchLinuxARM-aarch64-latest.tar.gz -C /mnt
Copy the initramfs and kernel image out of the rootfs:
sudo cp /mnt/boot/initramfs-linux.img .
sudo chown $USER:$USER initramfs-linux.img
cp /mnt/boot/Image .
Unmount loopback device:
sudo sync
sudo umount /mnt
sudo losetup -d /dev/loop0
Save the following as run.sh next to the image:
#!/bin/bash

qemu-system-aarch64 \
	-M virt \
	-cpu cortex-a53 \
	-smp cores=6,threads=2,sockets=1 \
	-m 8G \
	-kernel Image \
	-initrd initramfs-linux.img \
	-append "root=/dev/vda1 rw console=ttyAMA0" \
	-drive file=archlinuxarm.img,if=virtio,format=raw \
	-net nic -net user,hostfwd=tcp::2222-:22 \
	-display gtk,gl=on \
	-device virtio-gpu-pci \
	-device virtio-keyboard-pci \
	-device virtio-tablet-pci
Graphics, some input devices and networking should be set up by the arguments above. You may want to adjust the amount of RAM allocated (-m) as well as the CPU topology (-smp).
Make it executable (chmod +x ./run.sh) and run the script (./run.sh). It should now boot into a login prompt on the display as well as showing startup logs in the serial console.
When started
Log in with user root and password root.
Populate the keyring:
pacman-key --init
pacman-key --populate archlinuxarm
Update:
pacman -Syu
Shut down:
poweroff
On the host, mount the disk image. Whenever there is a major kernel update applied in the VM, you will need to copy out the initramfs and the kernel image to boot it with QEMU. To do that, you’d want to run the following commands in your host:
sudo losetup -fP archlinuxarm.img
sudo mount /dev/loop0p1 /mnt
sudo cp /mnt/boot/initramfs-linux.img .
sudo chown $USER:$USER initramfs-linux.img
cp /mnt/boot/Image .
sudo umount /mnt
sudo losetup -d /dev/loop0
Start the VM again. At this point you should have a fully functional and updated Arch Linux ARM system.
Setting up a graphical environment
I had created a normal user and set up sudo inside the VM at this point, escalating to root whenever necessary.
Install ly, openbox and some Xorg stuff.
sudo pacman -S ly openbox libbsd libmd xorg-{server,setxkbmap,xauth,xkbcomp,xrandr}
Install some graphical terminal. If you pick something not in the default Openbox menu you’ll have to add it. For simplicity’s sake you could use xterm (xfce4-terminal and urxvt would also work):
sudo pacman -S xterm
Create .xinitrc:
echo "exec openbox-session" > ~/.xinitrc
Enable and start ly
sudo systemctl enable ly
sudo systemctl start ly
Now you will need to switch to TTY2, go to the QEMU monitor and type sendkey ctrl-alt-f2. When you go back to the display you should see a (slightly messed up) ly login box. Type in your username and password and select xinitrc.
Press enter, and you should be able to right click to bring up the Openbox menu. The terminal program you installed should work to launch from the menu.
Change keyboard layout if applicable (you probably know the language code of your keyboard at this point) and change the screen resolution to something larger:
setxkbmap se
xrandr -s 1440x900
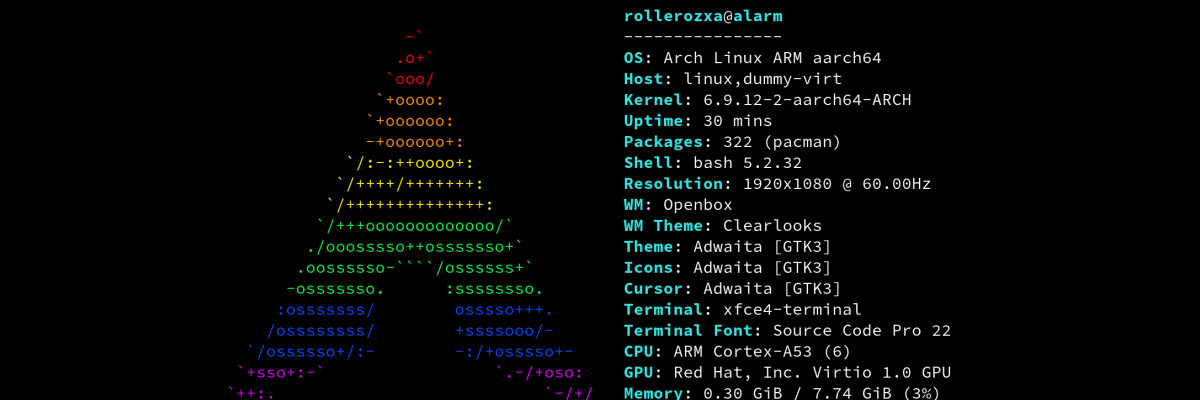
At this point, you should be mostly good to go with what you would like to do in your new ARM environment.
Donations
Did you find the blog post to be informative, amusing or otherwise interesting? All blog posts are written by a human who would appreciate a donation if you got some value out of this piece of writing.